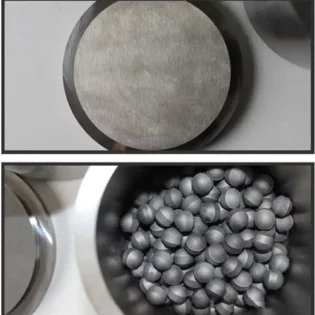
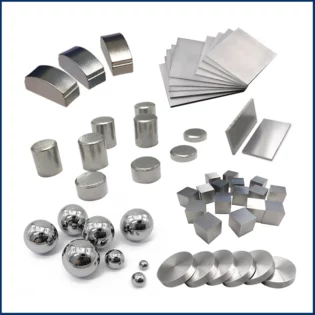
Cemented carbide is a kind of alloy material prepared by powder metallurgy process using hard compounds of refractory metals such as tungsten carbide (WC) or other MC type carbides and bonding metals. The bonding metals are mainly cobalt based, nickel based and iron-based.
Metallographic Preparation
Generally, high-power precision cutting machine and diamond cutting blade (20lc) are used for cemented carbide sampling. Due to its own hard characteristics, the cutting surface flatness is very good, and rough grinding steps are usually not?required.

The removed samples usually need to be inlaid before grinding and polishing. In the inlay, we recommend to use the hot inlay epoxy resin added with mineral or glass powder. If cold inlay must be used under some special conditions, we also need to add reinforced ceramic powder to the resin to improve the hardness of the resin.
For the grinding of cemented carbide, silicon carbide abrasive paper is powerless, so a specific diamond grinding disc must be selected. When the amount of material removed by grinding is large, we can use resin bonded disc or 45 μ M metal bonding plate as the first step of grinding. When the cutting surface is smooth and smooth, and there is no need to remove the material, we can also choose hard grinding disc with rough polishing of diamond suspension as the first step.
?ethod 1
| steps | 1 | 2 | 3 | 4 |
| Surface | DGD Mosaic/DGD Ultra | Ultrapad | VenduTex | MicroCloth |
| granule | 45um | 9um | 3um | 1um |
| lubricant | water | Water | Metadi fluid | Metaldi fluid |
| force | 30N | 30N | 30N | 30N |
| Time | Until surface being flattened | 5mins | 3mins | 2mins |
| Rotation velocity(rpm) | 200 | 150 | 150 | 150 |
Method 2
| steps | 1 | 2 | 3 | 4 |
| Surface | Apexhercules H | Apexhercules H | VenduTex | MicroCloth |
| granule | 45um | 9um | 3um | 1um |
| lubricant | Metadi fluid | Metadi fluid | Metadi fluid | Metaldi fluid |
| force | 30N | 30N | 30N | 30N |
| Time | Until surface being flattened | 5mins | 3mins | 2mins |
| Rotation velocity(rpm) | 150 | 150 | 150 | 150 |
?three μ Metallographic photos of polished m diamond

?one μ Metallographic photos of polished m diamond

?After 0.05 μ m alumina polishing

?Metallographic photos before vibration polishing
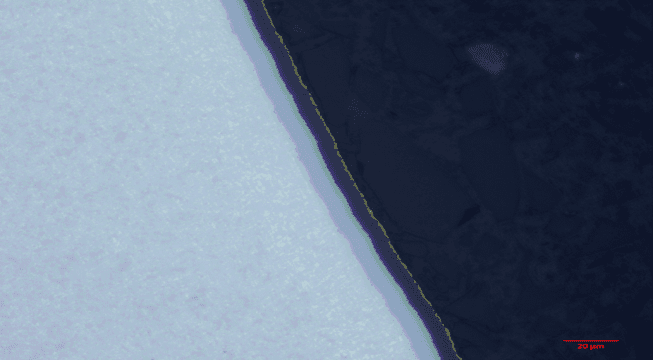
Finally, if the silica gel or alumina suspension is used for polishing, the clear structure will be obtained, which is also related to the hardness difference between the matrix and the hard phase. When the surface has multi-layer wear-resistant coating, the final oxide polishing can also increase the contrast between the coating and the substrate. When the surface coating needs EBSD sample preparation, vibration polishing will also make the hard phase transformation of the substrate prominent.
Hardness test
Rockwell hardness test
(A) Scale test method
1. sample preparation and requirements
Roughness of test surface of sample RA ≤ 2 μ m。 The thickness of the sample surface in sintered state shall not be less than 0.2mm.
Sample preparation shall be carried out in a way that minimizes the change of surface properties caused by overheating or quenching due to processing
When determining the hardness of the sample with curved surface, the radius of curvature shall not be less than 15mm. In order to determine the hardness of specimens with radius of curvature less than 15mm, a plane at least 3MM WIDE shall be prepared.
The thickness of the prepared specimen shall be at least 1.6mm.
The specimen surface under the action of diamond indenter shall be parallel to the bearing surface, and its parallelism shall not exceed 0.1mm per 10mm length.
2. equipment
The measurement accuracy of the test equipment shall not be less than 0.2hra.
The diamond indenter shall comply with the relevant provisions of gb/t 230.2-2012, and the performance of the diamond indenter shall be checked on the calibrated hardness tester. A set of cemented carbide standard test blocks is composed of five test blocks. At least five indentations shall be made on each cemented carbide standard hardness block, and the average hardness of each standard block and its difference from the calibration hardness shall be calculated. Calculate the arithmetic mean and range of the five differences. If the average value does not exceed ± 0.3hra of the calibration value and the range of range does not exceed 0.6 HRA, the indenter can be used. Cemented carbide standard hardness blocks shall have all or any of the following hardness values: 85.5, 88.5, 91.0, 92.0 and 93.0hra.
3. test steps
Select the cemented carbide standard hardness block closest to the hardness value (estimated) of the sample, and measure the hardness of three HRAS on the standard block. The difference between the average value of these three readings and the hardness value calibrated by the standard block shall be within ± 0.5hra.
If the difference is greater than ± 0.5hra, check the hardness tester and diamond indenter, and eliminate the cause of the error.
If the difference is within ± 0.5hr a, add or subtract the difference from the average hardness of the sample.
Vickers hardness test method
Fracture toughness (KIC) is considered as an inherent characteristic of a material, which refers to the fracture resistance of the material. The conventional standardized test method of KIC includes generating a small crack in the test sample and then applying a controllable load to expand the crack. Compared with the conventional method, the indentation fracture method is easier to test and has lower sample loss, which makes it a common choice to evaluate the fracture toughness of brittle materials.
When determining the fracture toughness of brittle materials, it’s critical to select the correct equations according to the crack morphology and material characteristics to calculate the fracture toughness. Indentation fracture toughness test is to estimate the KIC of materials by using the cracks generated by Vickers hardness indentation. These cracks were formed by applying a high load to a small piece of test material using a Vickers hardness indenter.
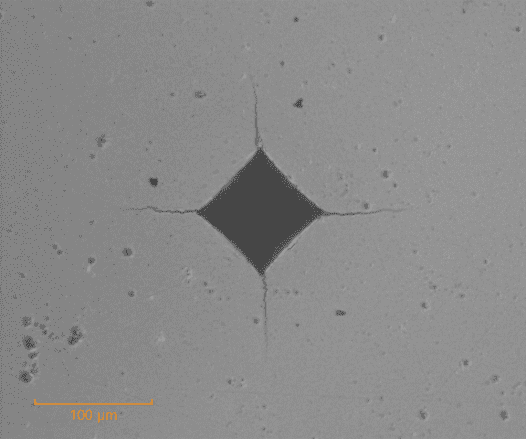
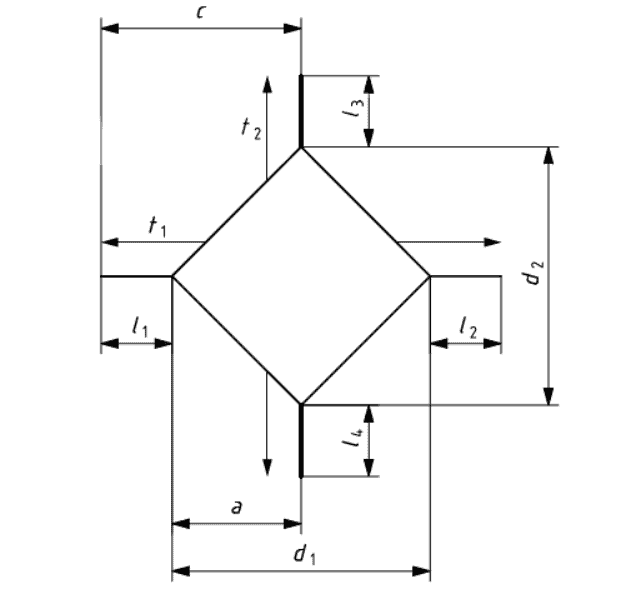
As shown in the figure below, there is a crack extending from each sharp corner in the ideal crack profile:
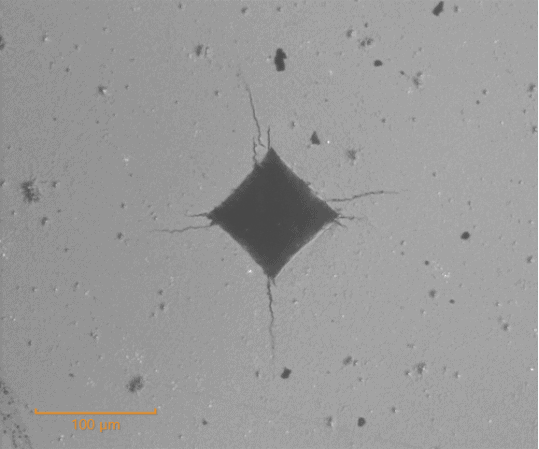
An example of a poor crack profile is as follows. If there are too many cracks or the crack length is uneven, the hardness method cannot be used to estimate KIC:
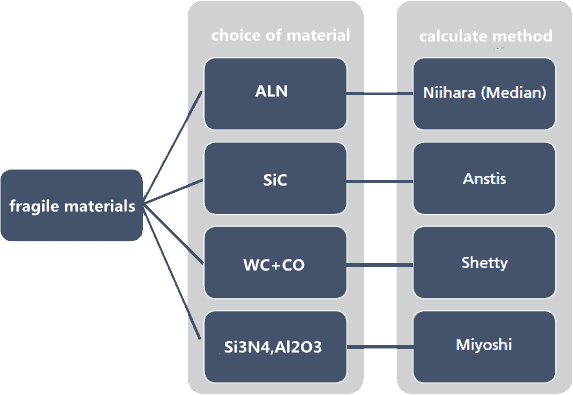
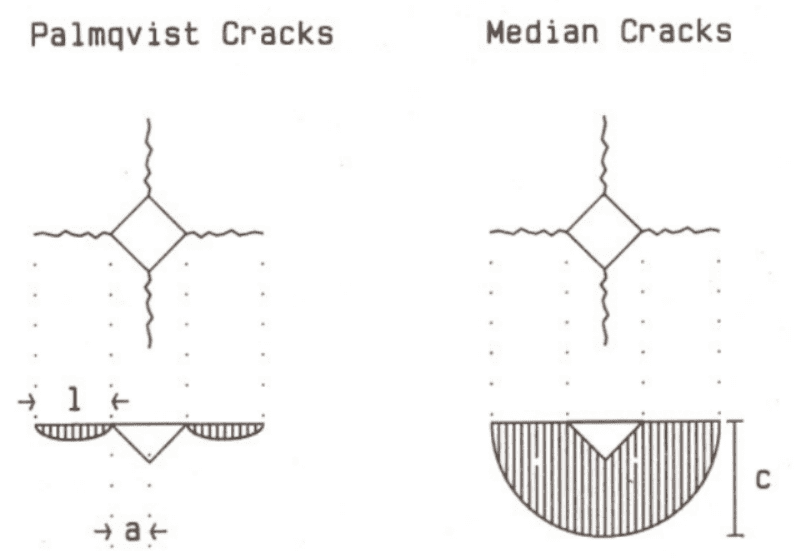
There are usually two kinds of cracks around the indentation, which are palmqvist cracks and median cracks. This paper briefly introduces the calculation method of cracks in cemented carbide. HV30 is usually selected as the scale.
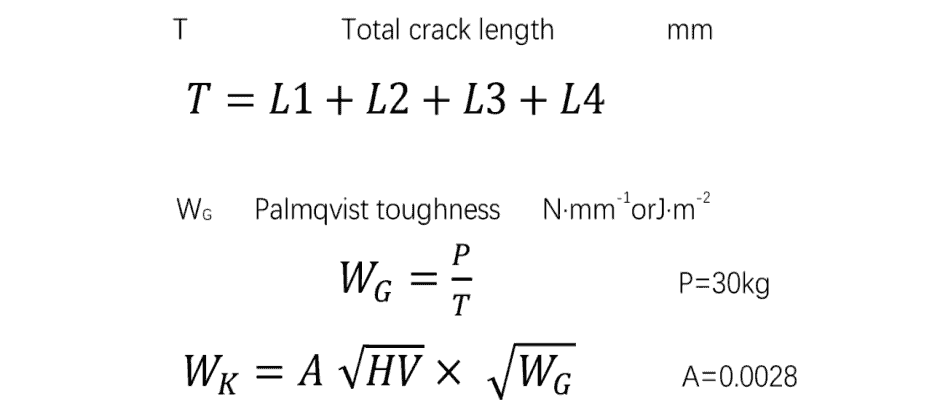
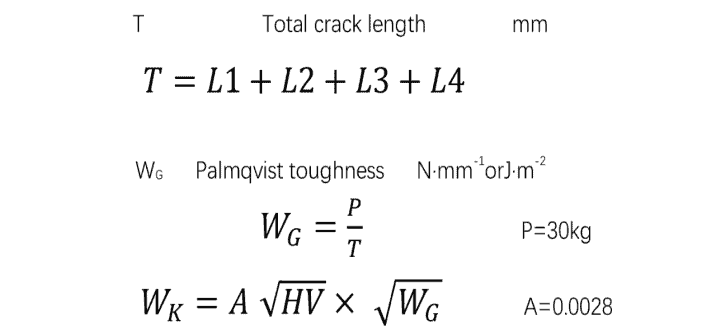
Of course, the simplest way is to select the measurement software, and then directly take the measured data for statistical calculation:
